
Posts

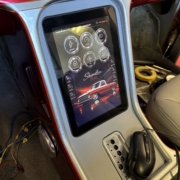
Greenworks 10.1" touchscreen mounted in a truck center console, connected to an Infinitybox IPM1 Kit

Connect a Custom Touchscreen to Your IPM1 Kit

Some of our customers want to do more than wire up a set of switches. They want to build their own way to control their Infinitybox system — a custom interface, a custom dashboard, their own logic — and make their vehicle truly one of a kind. The Next Generation IPM1 Kit was designed to welcome exactly that kind of creativity.

The entire Next Generation System runs on J1939, the same robust CAN protocol trusted across the heavy-duty and commercial vehicle world. We publish the J1939 messages that command the MASTERCELL NGX, POWERCELL NGX, inMOTION NGX and inVIEW modules, which means a builder who wants to create their own controller has a clear, documented path to do it. Want to drive the system from a touchscreen? A custom panel? Something no one has tried yet? The door is open.

Here is a customer who walked right through it.

A Builder-Designed Touchscreen Console
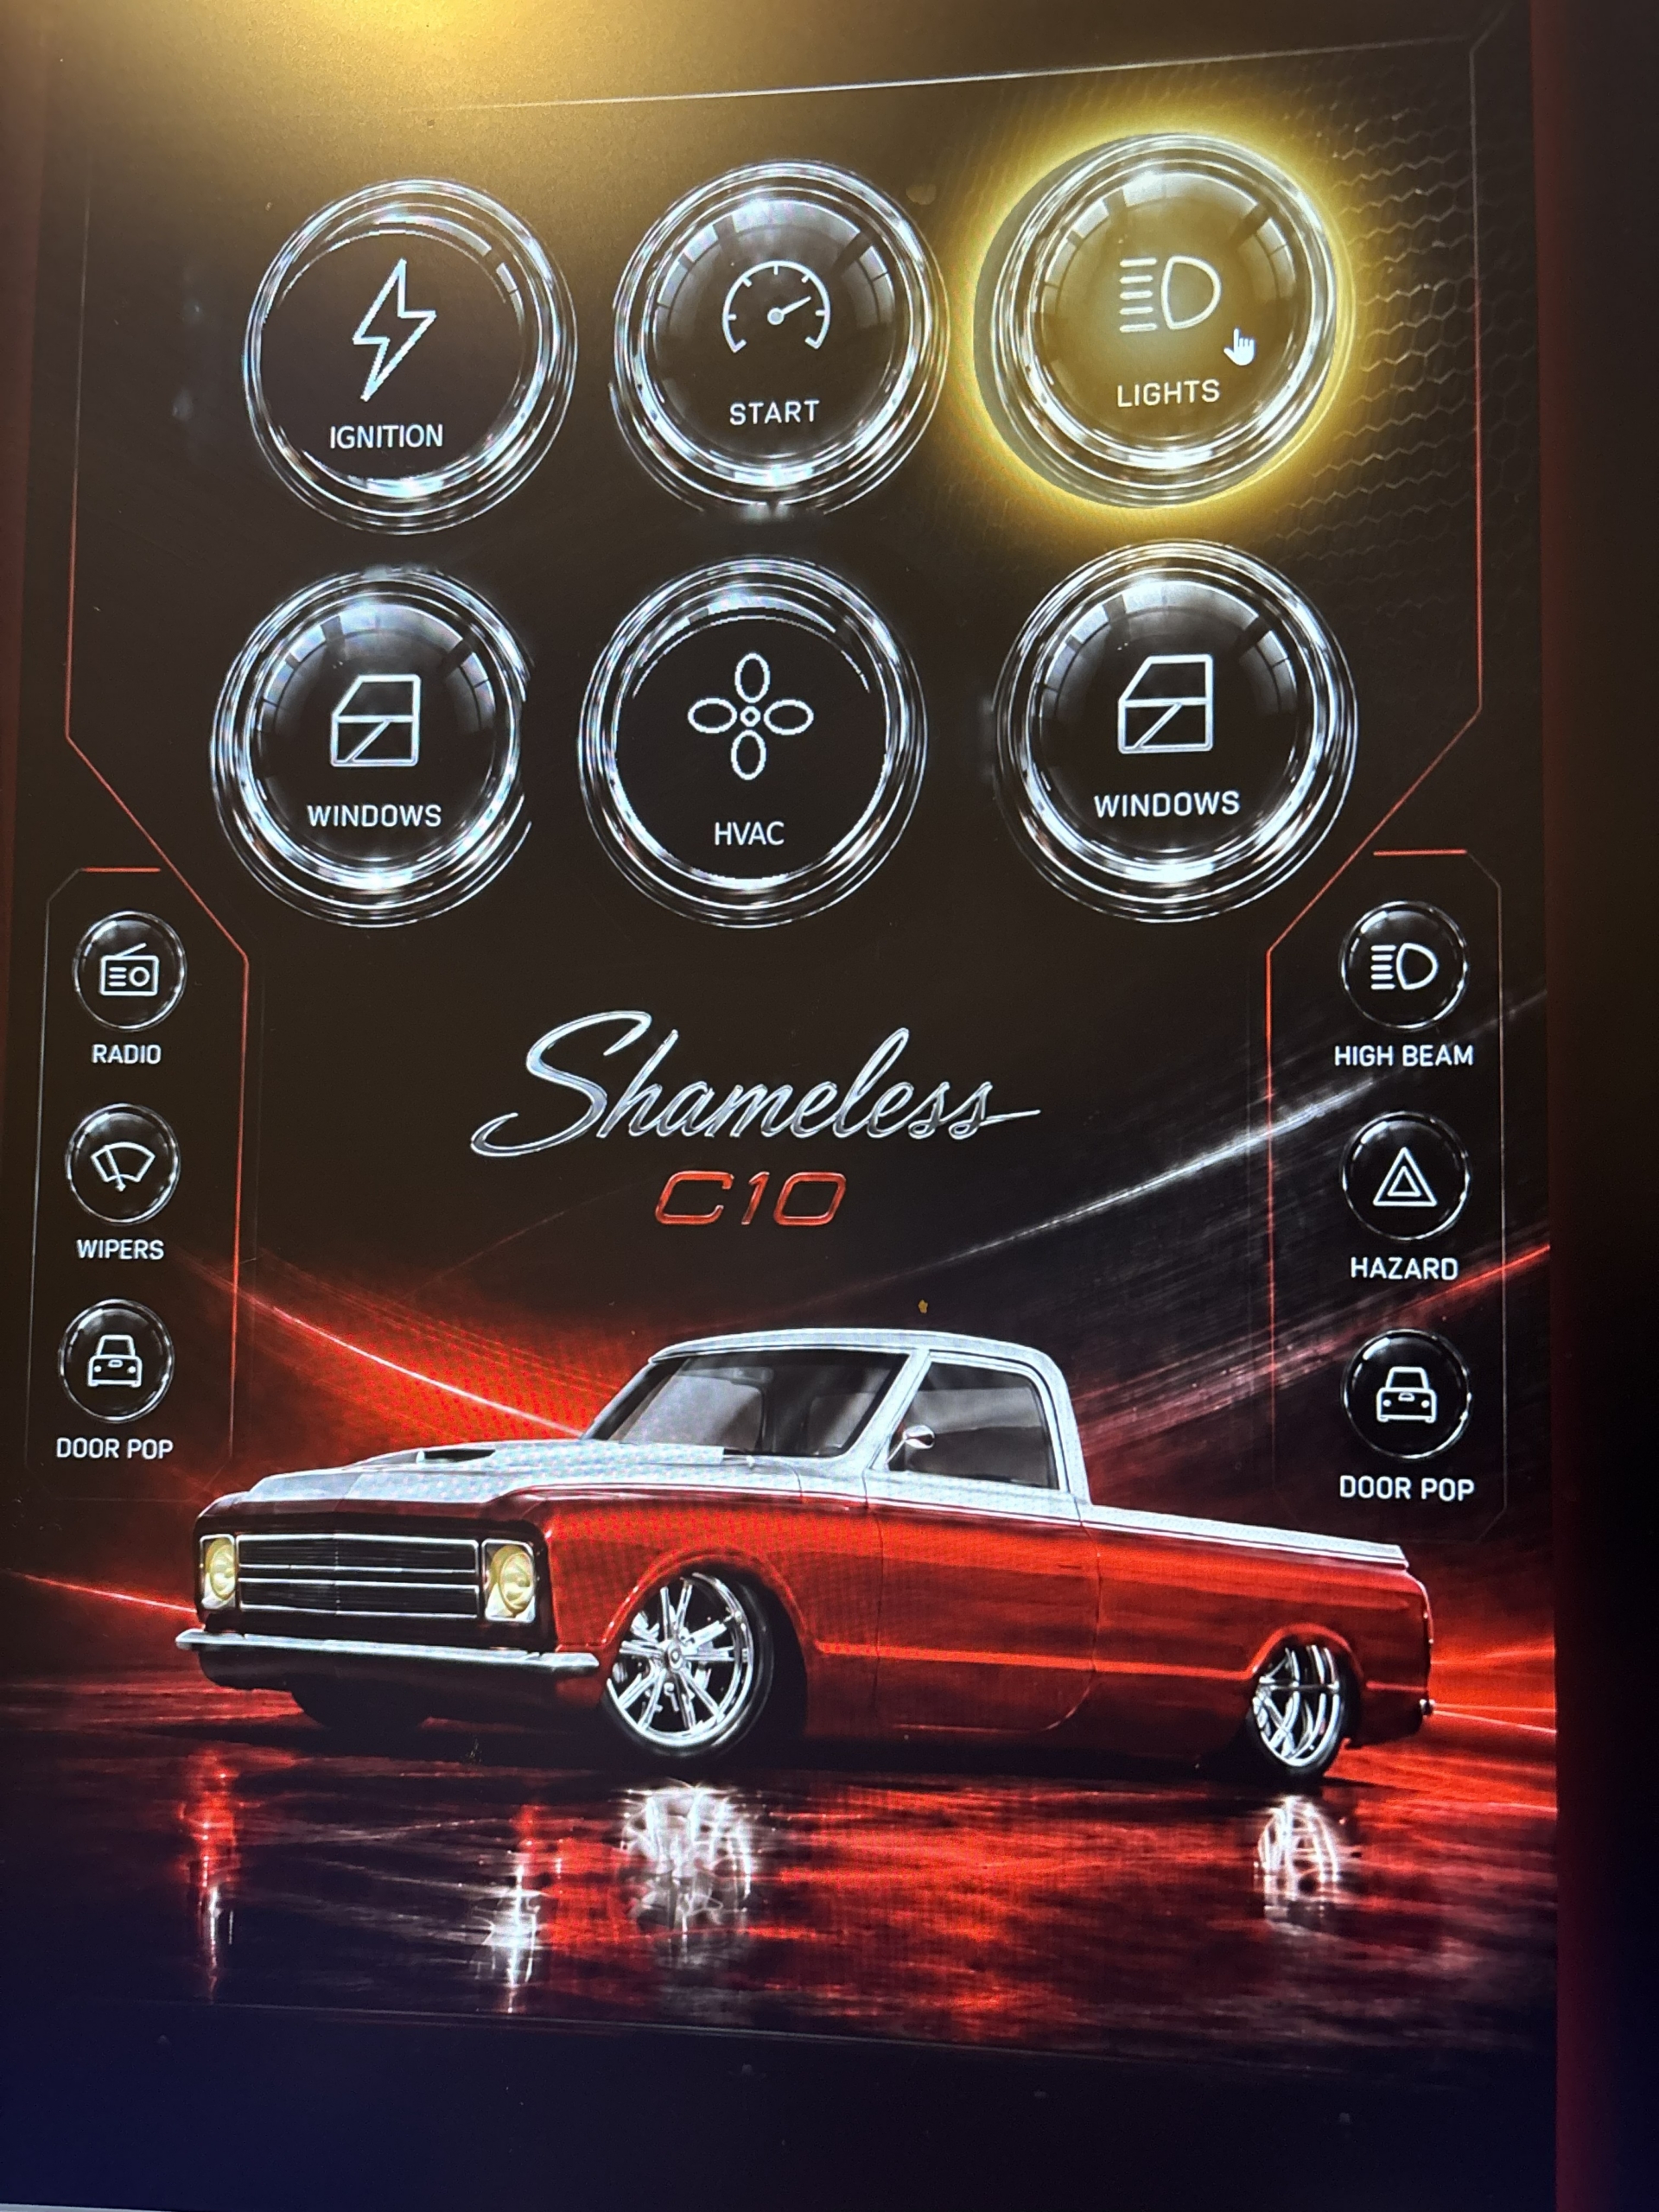
Custom touchscreen interface for the IPM1 Kit showing controls for windows, ignition, starter, and lighting

The custom touchscreen interface for “Shameless,” a 1967 C10, with controls for windows, ignition, starter, and lighting.

Brook B. at White Post Restorations wanted something clean, modern, and entirely his own for the center console of a truck build. So he designed it — a portrait-mounted 10.1″ Greenworks touchscreen running on a Raspberry Pi, with a custom interface he created to control the vehicle’s electrical system.

The result is elegant. Tap an element on the screen, and the corresponding function comes to life through his Infinitybox system. No bank of physical switches. No cluttered dash. Just a sleek, intuitive display that looks like it belongs in a vehicle costing many times more.

How He Connected It

This is where the open architecture of the IPM1 Kit shines. Brook had more than one path available to him, and that flexibility is the whole point.

He chose to drive the inputs on his MASTERCELL NGX directly, using an MCP23017 I/O expander on a development board. The touch elements on his screen trigger the expander, the expander drives the MASTERCELL NGX inputs, and the system responds. Clean and direct.

Another option would have been a CAN hat for the Raspberry Pi, connecting straight to our J1939 network and sending messages directly to the system. Both approaches work. Both are open to any builder. The choice comes down to what fits your project best — and that is precisely the freedom we want our customers to have.

The Role of AI

Here is the part that would have sounded like science fiction a few years ago. Brook used AI tools to help write the code that builds his screens and controls the entire system. He did not need to be a career software engineer. He had a vision, a set of modern tools, and a system designed to be controlled — and he brought it all together.

This is the new world opening up for builders. Affordable, powerful platforms like Raspberry Pi and Arduino, combined with AI-assisted coding, are putting custom vehicle control within reach of anyone willing to experiment. Pair those tools with a system that was built to be controlled, and the creative possibilities multiply.

This Is What Flexibility Looks Like

We did not build Brook’s touchscreen. He did. We simply built a system flexible enough to say yes to it.

That is the philosophy behind the entire Next Generation System: flexibility, functionality, and simplicity. Give builders a solid, reliable foundation, publish the messages that control it, and then get out of the way so they can create.

Brook’s console is one example. Yours could be the next.

Ready to Build Something of Your Own?

If you are dreaming up a custom way to control your vehicle — a touchscreen, a custom controller, an integration we have not even thought of yet — start with the IPM1 Kit. Then reach out to us. We are always happy to talk through the options for expanding how you control your car.

Get your IPM1 Kit today, and let’s see what you build.

Call us at (847) 232-1991 or visit infinitybox.com to get started.

Picture of a Raspberry Pi 4. This can be used to interface a touch screen into the Infinitybox inTOUCH NET

Options for Touch Screen Control

When we introduced our inTOUCH NET product in 2013, it gave our customers a very simple way to use a smart device to control all of the electrical functions in their hot rods, street rods, resto mods, kit cars and Pro-Touring builds.  Any smart phone or tablet seamlessly connects with inTOUCH NET to give you touch screen control of your lighting, ignition, starter, locks, windows, accessories and your heating & air conditioning controls.  inTOUCH NET is very flexible.  It can connect with any device that has a touch screen, a browser and Wi-Fi.  You can learn more about how inTOUCH NET works by clicking this link.  This blog post is going to go through other options for touch screen control of your car’s electrical system using our inTOUCH NET.  There is a very detailed video below that walks you through the process step by step.

This option uses a Raspberry Pi and a HMDI touch screen.  Both of these parts are easy to get, simple to set up and give you great flexibility.  The Raspberry Pi is small and simple to hide behind your dash.  You have tons of options for different sizes of touch screens and they are all easy to mount in a dash.

The Raspberry Pi is easy to get.  You can buy these directly from their website by clicking this link.  You can also get them from other on-line sources like Amazon.  Be sure to get the Raspberry Pi 4 because this is the version that has Wi-Fi built into it.  There are multiple memory size options for the Raspberry Pi.  For this project, you can use the smallest 2Gb option.

Next, you need a screen to mate with the Rasbperry Pi.  If you search Amazon for “Raspberry Pi touchscreen”, you’ll get a ton of options ranging from 4.3″ to 12″ diagonal screens.  You can pick the size that fits your dash.  You need to find a screen that has HDMI and USB.  The Raspberry is going to send out the video signal over HDMI.  The touch signals and the power for the screen will come from the USB connection.  This link will take you to the screen that we used in the video below.

Lastly, you will need a micro-SD card to hold the operating system for the Raspberry Pi.  Anything larger that 2Gb will work.  This link will take you to the card that we used in the video below.

This video walks through the steps to set this up.

First, you need to connect the Raspberry Pi to the touch screen.  There are two connections: the HDMI cable for video and the USB cable for power and touch screen commands.  You also need to get power to the Raspberry Pi.  That comes in through a USB C cable.  You need to get a place behind your dash to plug in the USB C cable.  A USB port like this one will convert your car’s battery voltage to the required 5-volts for the USB cable.

Next, you need to load the Raspian operating system on the Micro-SD card.  The video goes through that in detail.  This link will take you to the place to download Raspian.

Lastly, you need to connect the Raspberry Pi to the Wi-Fi broadcast by the inTOUCH NET.  The video below goes through the details but you can also watch this video to learn more about the process.

Check out the full set up video here.


Once you’ve gone through these steps, you have a touch screen interface that you can mount in your dash to control your entire electrical system through the Infinitybox inTOUCH NET.  This shows you the options for touch screen control with the Infinitybox system.

Click on this link to contact our technical support team with any questions.  

inTOUCH NET Introduction Video

Our Infinitybox system is the most powerful and flexible electrical system on the market.  It can be used to wire any restoration, resto-mod, hot rod, street rod, kit car or Pro-Touring build.  Over the entire range of our products and accessories, you can get complete control of the electrical system in your car.  Our inTOUCH NET product gives you a whole new level of control.  With inTOUCH NET, can control all of the features of your car from a smart phone or a tablet.  The following inTOUCH NET Introduction Video walks through the highlights of what inTOUCH NET can do.

Scott Roth and his team at The Auto Shoppe in Vermont built an amazing 1967 Corvette with our inTOUCH NET.  inTOUCH NET controls all of the functions of the car.  We shot this video with Scott and the car to show off how inTOUCH NET works and what it can do.  Check out inTOUCH NET in action here.

Click on this link to contact our technical support team to learn more about inTOUCH NET and how you can control your car or truck from any smart device.